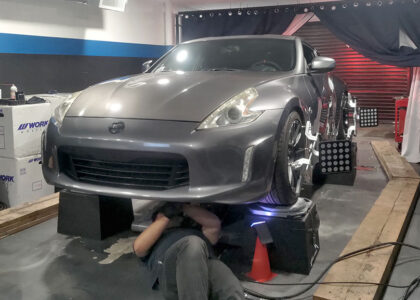
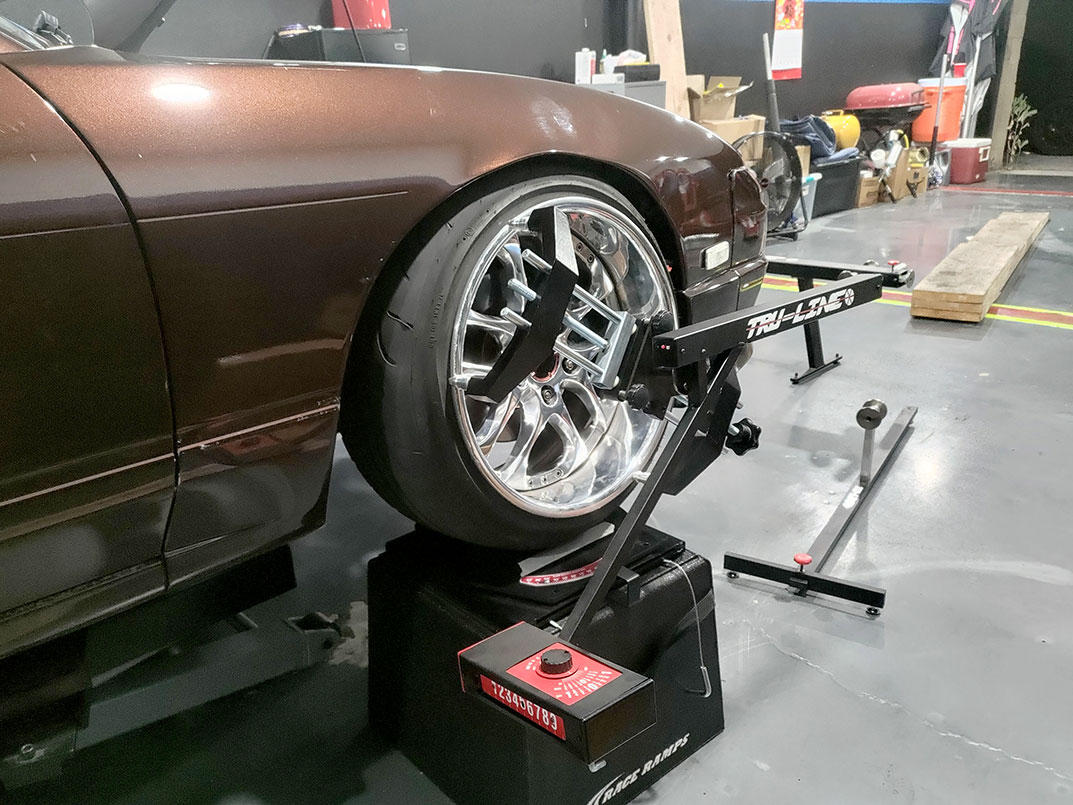
Here I sat like a fool, thinking Daniel’s FR-S with its -3 degrees camber was a bit excessive. Then rolls in Danny with his S13, boasting an absolutely stanky -7 degrees front camber setting. According to this drifter, it used to be even more negative than that, but after replacing some parts, the setting reverted to something a bit more “reasonable.” Drift cars, I love it.
I’ve seen this car many times at AVS, but this was the first time seeing it outside its familiar stomping grounds, and I had the pleasure of prepping this alignment for a drift event the following weekend.
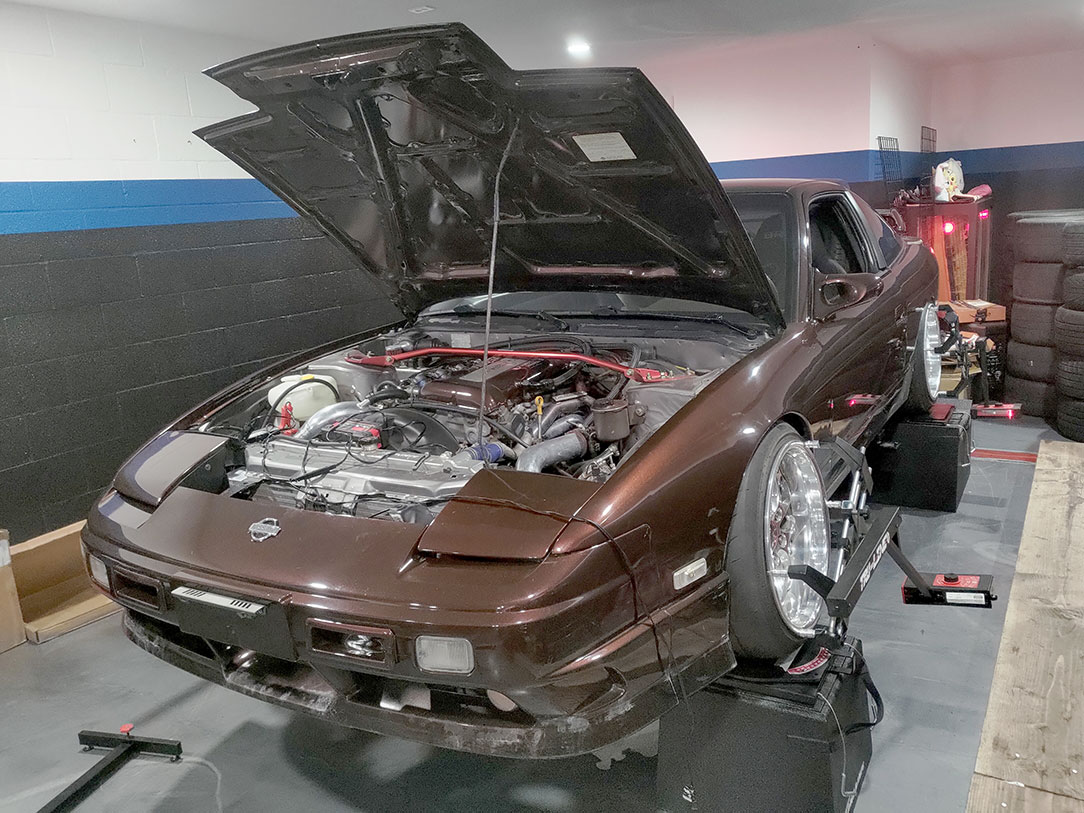
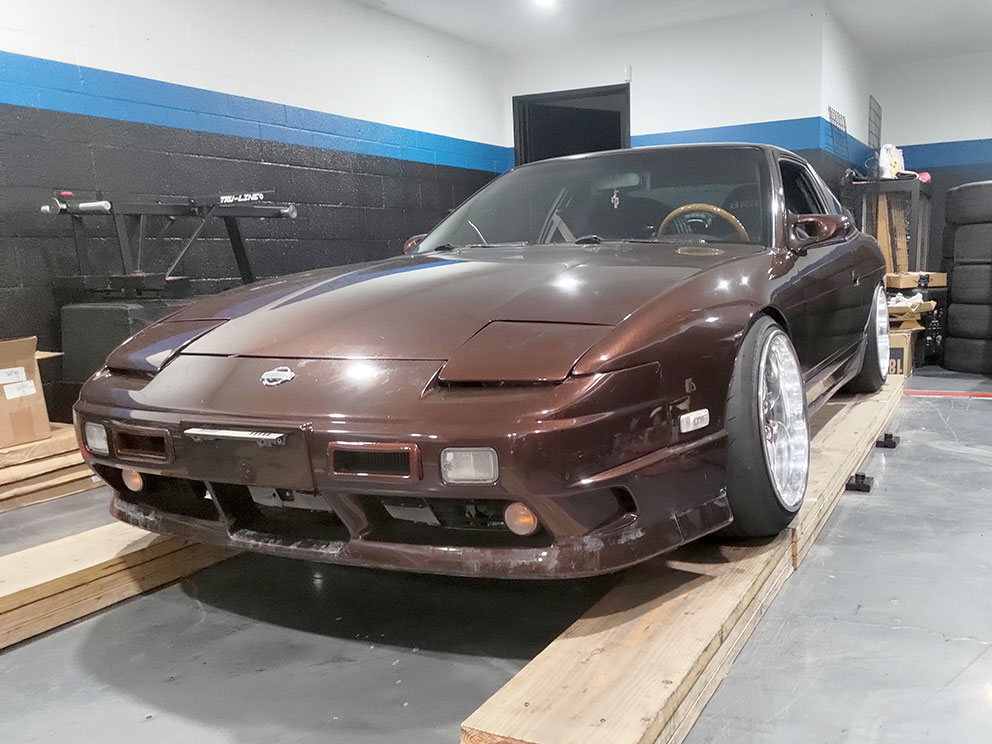
Thanks to the wooden ramps, it was zero drama getting this super-slammed car onto the lift and into the air. After performing the usual run-out calibration with the wheel clamps, it was time to lock the brakes, attach the battery tender, and place the car onto the slip plates sitting atop the wheel stands. Finally, I affixed the alignment lasers, and it was time to see what was going on with this bad boy.
Unfortunately, because this Nissan was only equipped with the factory rear toe arms, the settings would be stuck far from the ideal range. Instead, Danny chose to focus on the front, where I’d adjust the camber and toe.
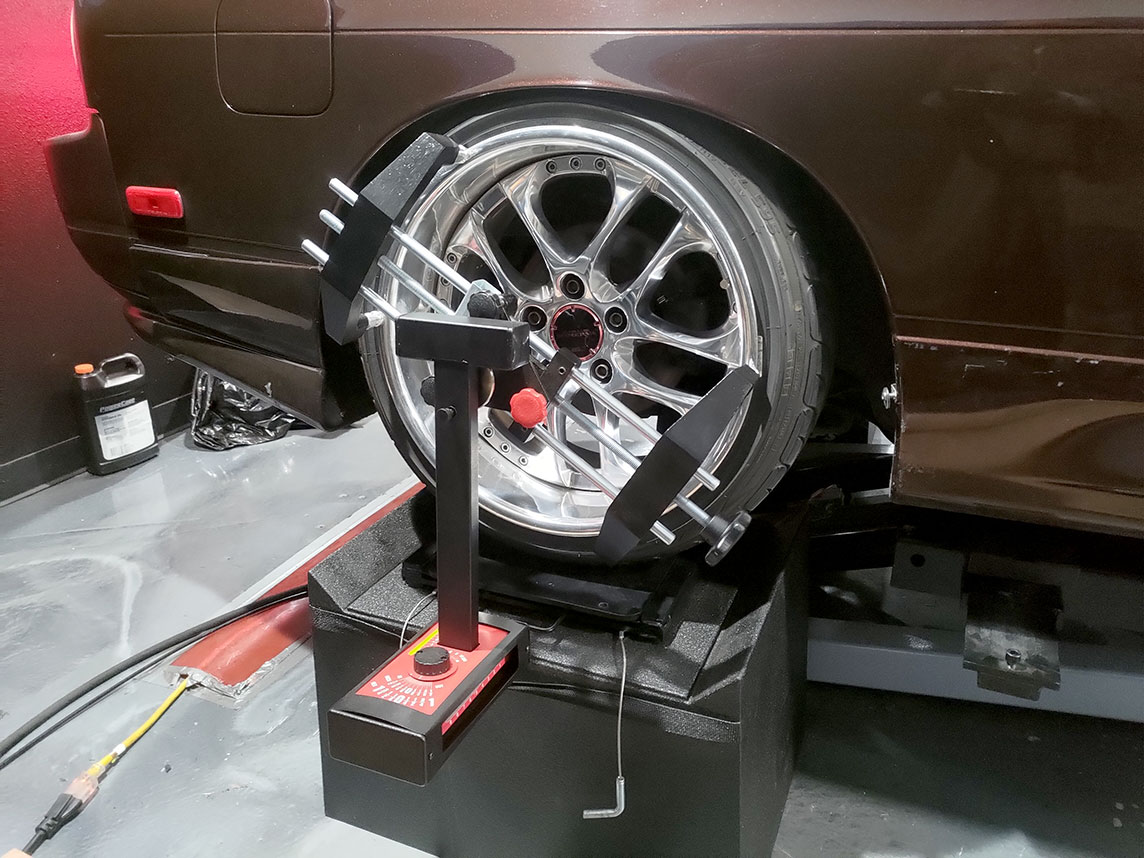
Both strut tower plates were pushed to their maximum negative-camber settings. So, we decided to choose the most negative same-setting that could be attained. In this case, it ended up being something like -7 degrees, just enough to for the wheels and tires to clear the fenders. Toe was re-adjusted to zero. Although, sometimes I advise a very slightly toed-in setting and let bushing deflection push the settings to zero in order to give a more pleasant street driving experience. However, this particular car was destined for track use only, with transport via trailer. Therefore, a static-zero-toe setting would just dandy.
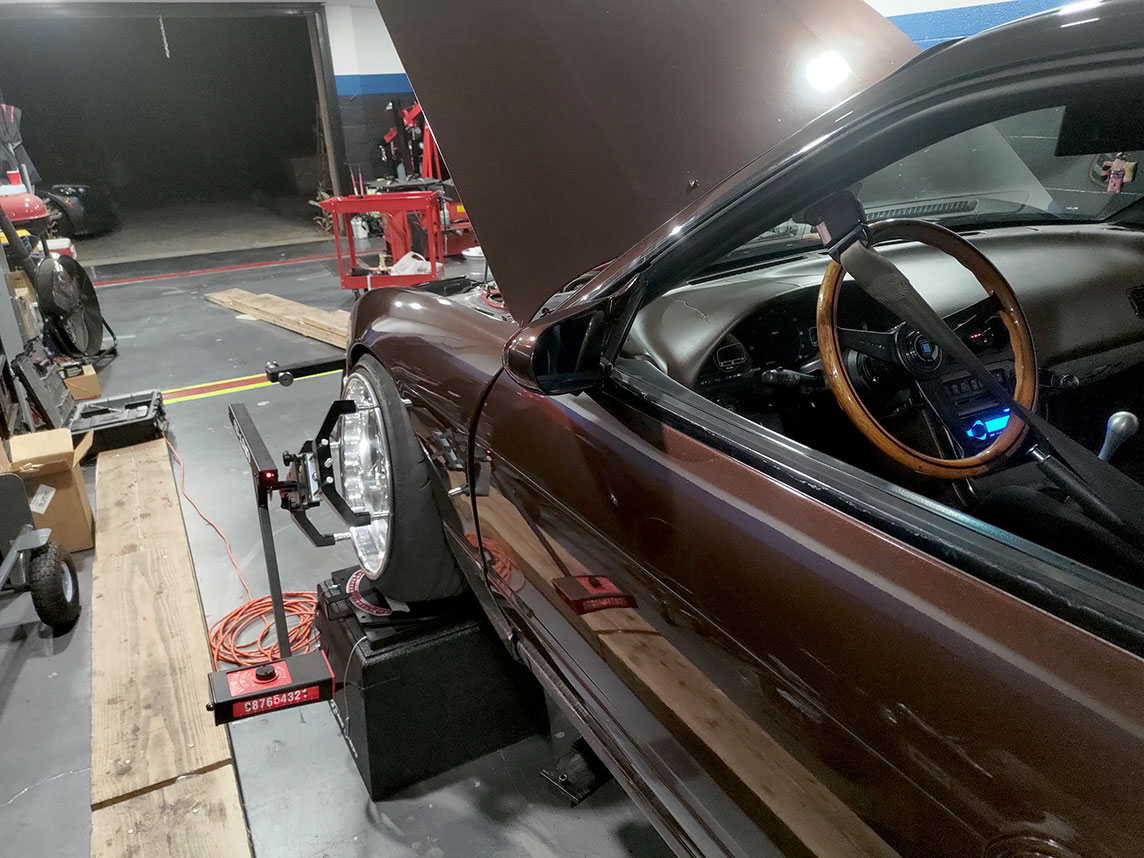
Once that was all done, it was time to give the car a quick test drive. Afterwards, we decided to do a quick re-adjustment to the front toe setting to help center the steering wheel. Then, we performance another test drive; steering wheel was good, and it was time to call this one done.
I’m sure we’ll see this car again sometime in the future, perhaps when the rear toe arms are installed. Until then, it was a pleasure seeing this fine machine.